As a supervillain, I would like to ensure that my minions and peons are working at maximum efficiency. The following post (and probably series) describes my journey in creating a tool that will help them stay productive.
This leads me to a question: What tomatoes, egg timers, and university have in common? They are all part of Francesco Cirillo’s Pomodoro technique that aims to manage time and tasks efficiently. The basics are that you have indivisible units of working time separated by short breaks and that you focus solely on the task at hand during a working unit. For me, this is line with achieving Cal Newport’s “deep work”. I would recommend reading up on these two concepts as I am not going into more detail here; I just wanted to give some motivation as to why I chose to make this app.
With that out of the way, let’s talk dev.
The basic idea is that a user has a list of tasks with a description and an associated duration (in work units). They then hit “Start” and it jumps them into a timer, with a description of a task, the time remaining, and the next upcoming task. The app automatically alternates between breaks and work, and continues until there are no tasks left or the user stops the timers.
I jumped into Android studio and started a new project with Kotlin support. This is where I fell in love with Kotlin.
If you are looking into starting Android development, I would highly recommend doing it with Kotlin only.
Kotlin Android Extensions allows you to use “view binding” which completely eliminates the need for using “findViewById()”. This is done by importing the views in a layout using the following code:
// Using R.layout.activity_main from the 'main' source set
import kotlinx.android.synthetic.main.activity_main.*
However, when I started this I was unaware of how wonderful Kotlin is. In fact, I was completely new to Kotlin, and had forgotten most of my Android knowledge as well. So this meant learning Android using Kotlin from pretty much the beginning. If you are looking into starting Android development, I would highly recommend doing it with Kotlin only.
Because of my inexperience I ran into a whole host of issues early on.
CustomViews For Custom Classes
What I had was a class for a Task that had a name and a duration (in work units) and what I wanted was a reusable UI widget that could contain all of the information for a single task.
To do that I implemented a CustomView and called it TaskView. The TaskView had its own separate layout resource and could be imported as a single unit into any other layout using:
<com.sudosays.tempo.TaskView
        android:id="...
/>
By adding a “populate” function that took a Task as an argument, I could dynamically create and add my custom TaskView. The way to do this is essentially to create a view that inflates itself from the defined XML and then fill in the data you want afterwards by calling the populate() function. This is handy because you can dynamically change the data of the view by calling populate with a modified Task object without having to manually alter the view fields one by one.
Fixing the Layout using LayoutParams
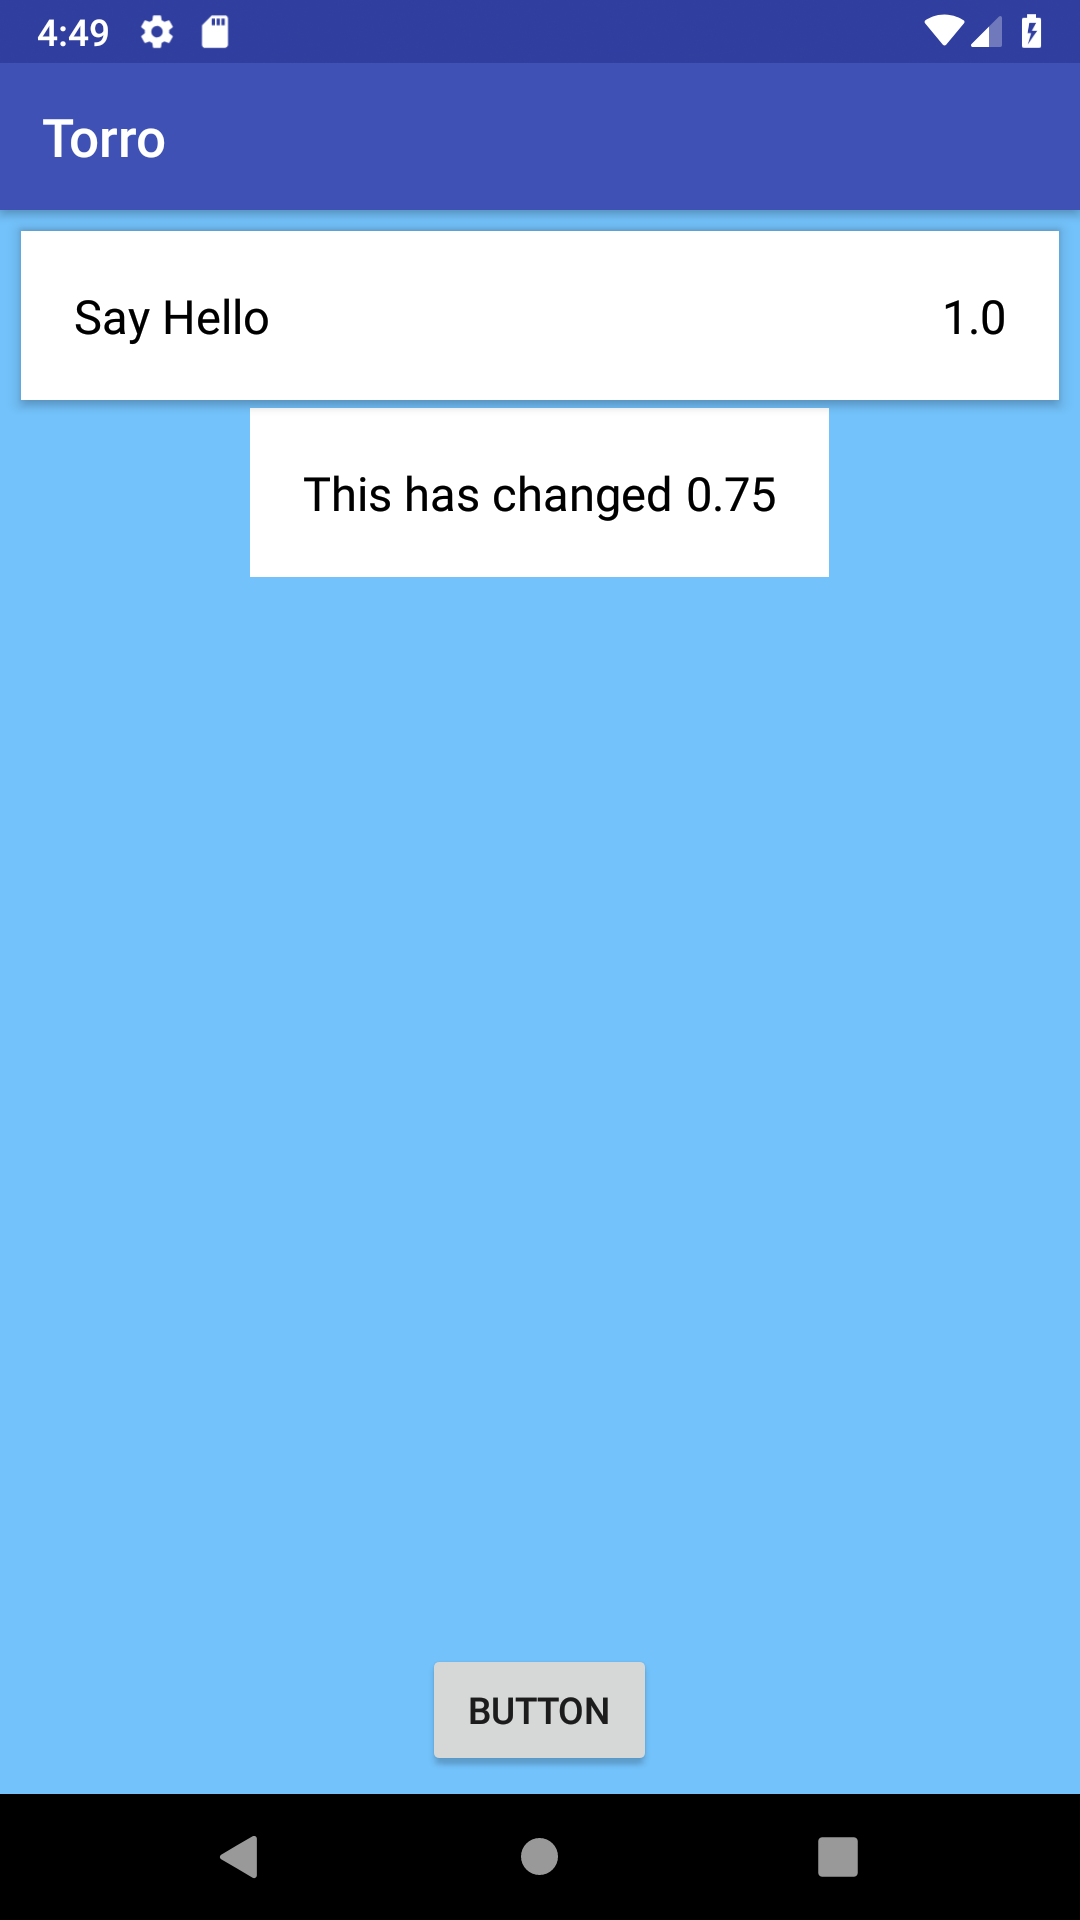
One thing I noticed, however, is that when I added a custom view through code it did not expand to fill the space like the custom view I added through XML. The screenshot below shows the XML added TaskView on top and the dynamically added TaskView below.

Screenshot showing the two TaskViews in the main activity.
This stymied me because I was already setting the constraints of the view when adding it to the main ConstraintLayout of the activity. However, I was not setting the LayoutParams of the view once it was inflated. All I needed was to add the following line to my TaskView’s constructor (right after inflating it):
this.layoutParams = LayoutParams(ViewGroup.LayoutParams.MATCH_PARENT,ViewGroup.LayoutParams.WRAP_CONTENT)
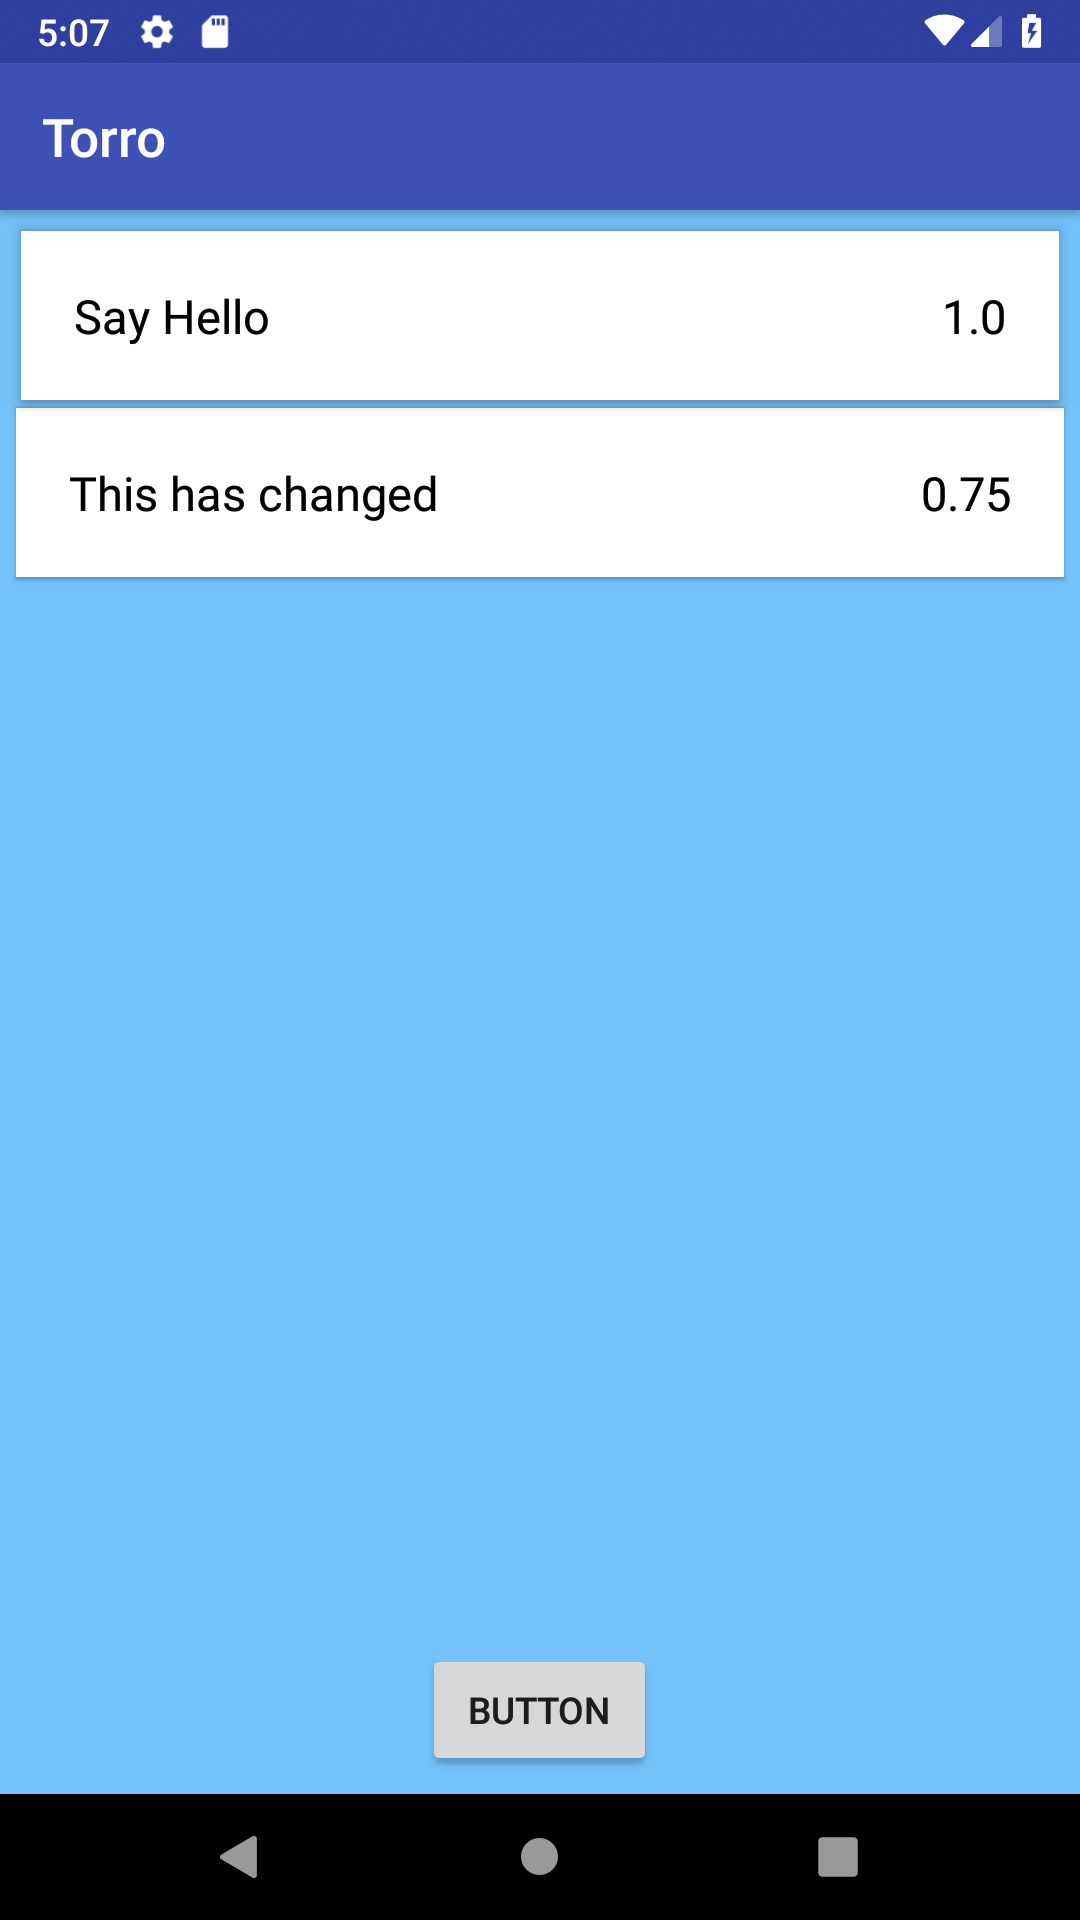
Now, when I added a new TaskView from code it looked like the following:

Screenshot showing the somewhat fixed TaskViews.
As you can see the bottom view is not elevated like the top view and so does not cast a shadow. This is something I will leave for another day, because it is not super important to me right now.
Moving on, I created a custom view called EditTask that contains all the widgets to, well, edit a task (or create a new one). As before, it has a populate function and can be re-used as much as needed by embedding it into any layout. This means that the difference between the ‘create new task’ and ‘edit existing task’ boils down to whether or not the EditTask view will be populated and if we’ll be inserting or updating the task records.
Finally, I added a very rough layout for the ‘Flow’ activity which shows a timer, and the next upcoming break/task.
That’s it for this devlog, but I will keep working on it and post more updates as soon as I can. Till then, stay evil.